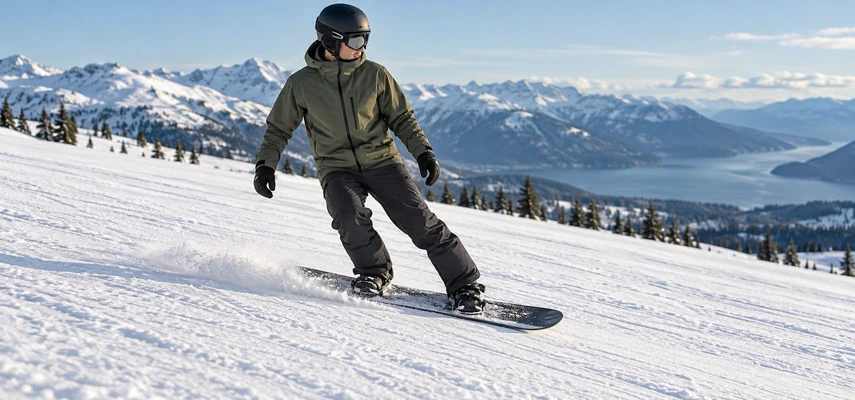

A snowboard that slides easily is a wonderful invention until you would like it to stop sliding. That’s the moment when speed becomes less interesting than choice: can you finish the movement deliberately, in a suitable place, without relying on a fall?
Stopping is a skill to learn early with an instructor, on gentle terrain selected for the task. It belongs before independent runs, not after you’ve discovered that a trail is longer than expected. You need a clear practice area, manageable speed and room for the stopping movement to work.
The underlying idea is straightforward. You use the board’s orientation and edge engagement to create resistance from the snow, while keeping your body in a position that can manage that resistance. Straightforward doesn’t mean instantaneous. Timing, balance and conditions determine how the idea feels beneath your boots.
Learn the stop before testing the descent
Start with qualified instruction in a designated learning area. The instructor should choose the slope and explain where the movement begins and ends. A suitable runout helps, but an empty-looking space isn’t automatically appropriate: pitch, surface, traffic and visibility all matter.
Both boots need to be properly secured for the two-foot exercises described here. If you’re learning one-foot movement for flats or lifts, follow the separate stopping method taught for that task. Dragging a free boot isn’t a general downhill braking system.
Check that your setup allows comfortable movement and that you understand the heel-side and toe-side edges. A boot problem or loose binding can make it harder to connect an instruction with the board’s response. Raise equipment questions before starting, not while trying to slow down.
The NSAA Responsibility Code requires being able to stop or avoid people and objects. That obligation is a reason to build stopping on suitable terrain. It isn’t a promise that you can always rescue an unsuitable situation with one last powerful movement.
Understand where the resistance comes from
When a board points straight downhill and glides relatively freely, gravity can keep adding speed. Bringing it farther across the direction of travel, with appropriate edge contact, makes it move more sideways through the snow. That interaction can slow the slide.
The edge doesn’t act like a rubber pad clamped onto a wheel. It interacts with snow that can compress, shear and move. Your body needs to remain connected to the resulting support rather than being thrown away from it by a sudden, uncontrolled engagement.
More edge angle doesn’t always mean a better stop. Hard snow may provide limited grip; very soft snow may break away or resist unevenly. An abrupt edge change can also disrupt balance. An instructor helps you learn how much adjustment suits the particular exercise.
The AASI performance guide treats tilt, pressure, pivot and twist as coordinated aspects of board control. Stopping draws on that combination. It’s more than telling the rider to dig in harder.
Begin by controlling a small sideslip
A common early progression uses a sideslip: the board is oriented across the slope and moves generally sideways relative to its length. On appropriate gentle terrain, the instructor introduces how changing edge engagement allows a little sliding and then reduces it again.
On the heel-side, you’re working with the edge beneath the heels. The toe-side edge remains released from catching as the board slides. Keep enough mobility through your legs to manage the movement rather than leaning far back and bracing against straight knees.
Think in small adjustments. The first objective may be a short controlled slide followed by stillness. You don’t need to travel far to learn the difference between letting the board move and increasing useful resistance. A compact exercise gives you time to notice the response.
Burton’s beginner progression includes edge-control work before more developed turning. That order helps explain why instructors spend time on what looks like a modest sideways movement: you’re learning the contact relationship that will support later skills.
Develop control on the toe-side too
Toe-side stopping uses the edge beneath the toes and a different body relationship to the slope. It can feel unfamiliar because your view and sense of support change. The answer isn’t to avoid that side indefinitely or force a large movement before you understand it.
Your instructor can help you establish a comfortable position, including useful ankle and knee movement and contact through the boot. Avoid confusing toe-side control with standing on tiptoes or bending only at the waist. Those descriptions can encourage movements that don’t produce the intended balance.
Practice the small release-and-slow relationship on terrain chosen for that side. Your instructor may modify the task or provide appropriate assistance. One edge feeling easier doesn’t mean the other is mechanically wrong; it may simply need a different explanation and more manageable practice.
Knowing how to halt on both edges gives you more options as learning progresses. It doesn’t require making the two sides feel identical. The useful standard is a repeatable controlled outcome, not matching sensations in every joint.
Connect changing direction with coming to rest
As your skills develop, an instructor may use a gentle J-shaped turn: a short glide followed by a curved path across the slope toward a controlled finish. REI’s beginner riding guide shows how early directional changes build toward turns.
Turn shape matters because it changes how directly you travel downhill. Finishing a suitable rounded turn across the slope can reduce speed, together with the appropriate amount of skidding and edge engagement. It isn’t merely rotating the board sideways at the last possible moment.
Build that relationship gradually. Begin with the speed, starting direction and finish location selected by the instructor. Don’t add a longer straight descent to make the stop more impressive. Extra speed increases the demand while you’re still learning the response.
The goal is to predict and manage the finish. Notice whether you slowed progressively or produced one abrupt skid that happened to work. Both may end with the board stationary, but the more repeatable movement gives you better information for the next attempt.
Why common stopping attempts go wrong
Leaning far toward the tail can feel protective, but it can make pressure management and steering harder. The front of the board may become difficult to guide while the rear leg braces. Ask for a smaller task and a workable body position rather than throwing yourself toward the nose to compensate.
Swinging the shoulders forcefully may turn the board unpredictably or leave the body out of step with the edge engagement. A quieter coordinated movement is easier to repeat. If you’re using the upper body to rescue every attempt, the instructor needs to see that pattern.
Grabbing suddenly for the opposite edge can create an edge catch instead of a controlled halt. Learn which edge is providing support and how the board is moving across the snow. A stop should be a managed interaction, not a surprise collision between edge and surface.
Staring only at the board can also reduce awareness of the available space. Look where the exercise requires while checking for other users as instructed. An excellent view of the bindings isn’t enough information to choose a suitable stopping place.
Choose where to stop, not just whether you can
A useful stopping spot is visible to people approaching from above and doesn’t block traffic. Avoid the far side of a rollover, narrow passage or lift unloading lane. Being stationary doesn’t remove your responsibility to others using the mountain.
Plan ahead. If the slope becomes crowded, visibility changes or you feel tired, reduce the demands before control deteriorates. You shouldn’t have to discover that your usual stop feels different while already approaching an obstacle.
Trail ratings are relative within a resort. A newly mastered stop on one learning slope doesn’t establish that you can use it reliably on every trail carrying the same symbol. Snow conditions and pitch change the task; progress with qualified guidance.
If you’re unsure whether you can manage a route, don’t enter it to find out. Ask staff or an instructor about an appropriate alternative. The best stopping technique includes decisions made before the board starts moving.
Practice for consistency rather than a single rescue
Ask the instructor what a successful repetition should look like: a short controlled release, progressive slowing and a stable finish in an agreed area. Work on that outcome with enough space and attention to notice the differences between attempts.
When something changes, describe it specifically. Did the board accelerate before you reacted? Did one edge release unexpectedly? Did you feel yourself hanging toward the tail? Those observations help the instructor adjust the task without piling on unrelated cues.
Don’t practice through concerning pain, suspected injury or fatigue that makes control unreliable. Stop and seek appropriate help. Falling isn’t a braking strategy, and protective equipment doesn’t turn repeated loss of control into useful practice.
A dependable stop is quietly satisfying. It means you can begin replacing hope with a plan: choose a manageable movement, guide the board and finish where the task allows. That control is what makes the rest of snowboarding available.