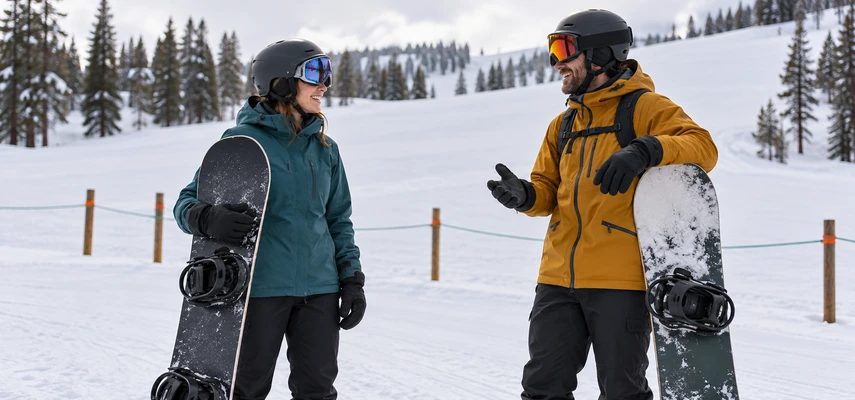

The first decision in snowboarding isn’t which board to buy. It’s how to arrange a day in which you can learn without also having to solve a rental queue, a missing lift ticket and a meeting point that appears to be on another mountain.
Those details sound less exciting than your first turn. They’re also easier to fix before you’re wearing gloves. A good start gives you suitable equipment, an appropriate learning area, qualified instruction and enough time to bring the pieces together.
Think of the first outing as an introduction to a new movement, not a test of how much mountain you can cover. Your job is to discover how the board responds and how to stay in control. The sweeping turns can grow from that. They don’t need to arrive fully formed in the first hour.
Begin with a lesson, then build the day around it
Look for a genuine first-timer snowboard lesson. Schools distinguish between someone who has never attached a board and someone who can already stop or link turns. Describing yourself accurately helps staff put you in suitable terrain and instruction.
The PSIA-AASI learning hub explains the value of professional feedback. An instructor can observe a movement, change an exercise and choose a useful next task. A video can show what a movement looks like; it can’t notice that your boots hurt or that the slope is overwhelming you.
Before booking, ask what the package includes. A lesson, equipment rental, helmet and access to the learning area may be separate items or parts of one bundle. Confirm the details for that specific school and date. The word beginner doesn’t guarantee an all-inclusive product.
Check the meeting time, arrival instructions and rental collection location. Ask whether there’s a dedicated conveyor or other beginner lift and what access is needed. Getting those answers is more useful than comparing a resort’s tallest summit with another resort’s tallest summit.
If you have accessibility needs, a previous injury or concerns about how you’ll participate, contact the school in advance. An adaptive program may be able to discuss suitable instruction and equipment. Arranging that conversation early gives the people helping you a chance to prepare.
Rent the setup before making it a shopping project
For an initial lesson, renting lets staff fit equipment to you without requiring a long-term purchase decision. You’ll learn what you like after you’ve experienced the sport. At the beginning, a well-fitted, suitable rental setup is more useful than an expensive board selected for its graphics.
Tell the fitter your actual height, weight, boot needs and experience. Board selection considers more than whether the nose reaches your chin. Manufacturer weight ranges, boot compatibility, board width and intended use matter. Let qualified staff handle those relationships rather than copying a friend’s setup.
Boot fit deserves particular attention. Your foot should be held securely, without painful pressure or an obviously loose heel. Wear the socks you’ll use to ride and tell staff about problems before leaving. Tightening a binding harder isn’t the solution to every loose or uncomfortable boot.
Ask how your bindings work and how to keep the board from running away when it’s unattached. Follow local retention requirements. Learn how to carry and place it without creating a hazard. An unsecured board can travel downhill perfectly well without its owner, which is a capability you don’t need to demonstrate.
Prepare for snow contact, not just cold air
Learning involves time close to the ground: fastening equipment, kneeling and getting up. Water-resistant or waterproof outerwear matters because damp clothing can make a manageable temperature feel much less comfortable. Ordinary absorbent trousers aren’t improved by sitting in snow repeatedly.
Use suitable layers, gloves or mittens, goggles and a properly fitted snow-sports helmet. REI’s snow-sports clothing guide explains the layering approach. Consider the forecast, wind and precipitation as well as the temperature. You may warm up during practice and cool down quickly while waiting. Adjustable layers help you manage that change.
Bring a way to stay hydrated and plan ordinary food breaks. Pack sunscreen and appropriate eye protection for the conditions. These aren’t performance upgrades; they’re the things that keep a day from being consumed by preventable discomfort.
Prepare physically by arriving rested and allowing time to move comfortably. If a health condition affects exercise or falls, seek individualized advice from an appropriate professional. A general beginner guide can’t decide whether a particular person’s medical situation suits a particular lesson.
Understand the first skills before you worry about turns
The early exercises may look modest. You might practice attaching and releasing a binding, standing with the board on level snow, pushing with one foot free and sliding a short distance on very gentle terrain. These tasks create familiarity with the equipment while limiting the number of new demands at once.
Moving with one foot attached is often called skating. It matters for flat areas and lift access. Controlled gliding builds on that. The purpose isn’t to fill time before the interesting lesson; it’s to establish useful movement before adding slope and speed.
Your instructor can then introduce edge awareness, controlled sliding, stopping and changes of direction as appropriate. REI’s beginner riding overview shows how small tasks lead toward turns. Your actual lesson may adapt the order, terrain and exercises to you.
On a snowboard, both feet influence one shared platform. Tilting it changes edge contact with the snow. That relationship makes useful control possible, but awkward timing can make the board engage unexpectedly. Gentle practice gives you room to learn the sensation without treating speed as a substitute for coordination.
Choose milestones you can recognize
A useful milestone is being able to explain how your bindings secure the boots. Another is moving with one foot free without losing control. Another is stopping deliberately in the area your instructor selects. Each gives you a capability that supports the next task.
Linking turns may come later or sooner depending on the learner and conditions. Don’t attach your enjoyment to an arbitrary deadline. A day spent improving controlled stopping can be much more productive than a long descent negotiated through fear and repeated unplanned stops.
Ask what a successful attempt should feel or look like. A clear task gives you something to notice. Simply trying to be better at snowboarding is too large a target for the few seconds between starting and stopping.
Learn the mountain rules alongside the movements
The NSAA Responsibility Code sets shared expectations for slope users. Stay able to avoid people and objects, give people ahead space, obey signs and closures, and understand lift use. Read the whole code; a few remembered slogans aren’t the complete set of responsibilities.
Choose terrain with your instructor. Ratings are relative to the resort, and snow or visibility can change what a trail demands. A green symbol doesn’t promise that every new rider can descend it independently. Ask where a lift leads before you board it.
Lift skills deserve their own attention. Tell the attendant you’re new and request help when needed. Conveyors, surface lifts and chairs have different procedures. Watching another person load is useful context, but it isn’t confirmation that you understand the required movement.
Stay within open designated terrain. A boundary crossing isn’t an adventure bonus attached to your lift ticket. Unmanaged snow can involve avalanche and other hazards that aren’t solved by owning a board or following someone else’s tracks.
Make companions part of the plan
Friends who already ride may have excellent intentions and entirely different ideas about a reasonable slope. Agree in advance that your lesson and learning area determine the day’s terrain. Meeting for lunch is often a better shared activity than trying to follow an experienced group down its normal route.
If a friend helps outside the lesson, keep the instructor’s practice plan in view. Too many competing cues can make one movement feel like a committee meeting. Ask for one clear observation, and return to qualified instruction when you don’t understand what is happening.
Notice fatigue and frustration. Repeated attempts become less useful when you can no longer pay attention or control your movements. A break, equipment adjustment or return to an easier exercise may solve more than another hurried run.
If you fall and think you’ve been injured, stop and get appropriate assistance. Don’t turn finishing the lesson into an obligation to continue through concerning pain or symptoms. Mountain staff can help you decide how to get support.
Leave with a next step, not a verdict
Before the lesson ends, ask the instructor which terrain is suitable for independent practice, which skill needs attention and what another lesson should build on. Repeat the guidance in your own words. That quickly reveals whether you both mean the same thing by controlled turns or an easy slope.
Make a brief note afterward: what felt clearer, what remained confusing and whether any equipment issue needs fixing. Specific observations are useful at the next session. A blanket verdict that you’re good or bad at snowboarding is considerably less informative.
The strongest beginning is a day that leaves you curious enough to return, with a clearer idea of how to practice. You don’t have to become a snowboarder in one spectacular moment. You can start with a secure boot, a manageable slope and a stop that happens where you intended.