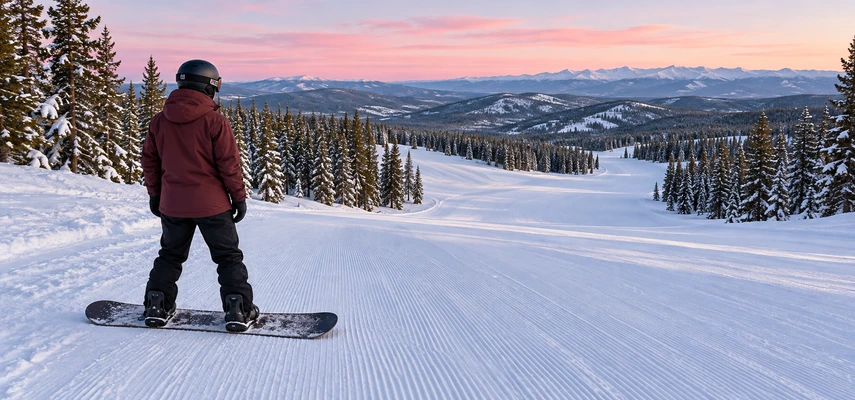

If every turn ends with an urgent skid, the problem may have begun several turns earlier. Speed control isn’t only the movement you make when you suddenly decide the world is approaching too quickly. It’s the route, timing and decisions that keep the ride manageable before urgency arrives.
A developing snowboarder needs both reliable stopping and a way to regulate movement between stops. Those are connected skills, but they aren’t identical. You can know how to halt on a gentle learning slope and still choose a line that lets speed build beyond what you can comfortably manage.
Learn with an instructor on suitable terrain. The aim is to create a repeatable pattern with room to adjust, not to discover the fastest speed from which you can rescue yourself. Control means keeping choices available as the snow, slope and traffic change.
Start by choosing a route you can manage
Terrain selection is part of speed control. Pitch, width, surface, visibility and traffic determine how demanding the ride will be. A rating symbol describes relative difficulty within a resort; it doesn’t certify that today’s conditions fit your current skills.
Ask the instructor where to practice and which route is appropriate. Find out what the trail does beyond the section you can see. A gentle entrance can lead to a narrower passage or a steeper pitch, and a busy connector can demand more precision than a broad quiet slope.
The NSAA Responsibility Code requires staying able to stop or avoid people and objects. That responsibility means selecting a manageable speed for the situation, not simply riding slower than the most confident person nearby.
If you’re unsure about the route, ask before entering it. A good decision at the trail junction can do more for control than a large braking movement after you’ve committed to unsuitable terrain.
Understand why the path matters
The fall line points most directly downhill at a particular location. Spending more of the ride aimed close to it lets gravity accelerate you more directly. Rounded turns change that relationship by guiding you farther across the slope as well as downhill.
This is why turning frequency alone doesn’t tell the whole story. A rapid series of small direction changes can still trace a very direct downhill route. It may look busy while doing less to manage speed than a more deliberate, appropriately rounded pattern.
Turn shape isn’t a command to traverse the entire trail. The route has to fit the available space and other users. The instructor can establish a suitable practice corridor and help you choose arcs that provide control without creating conflict.
Imagine walking down a steep path by a series of bends rather than taking the most direct line. The analogy explains route choice, although a snowboard also slides and interacts with edges. On snow, both the path and the contact with the surface matter.
Let skidding do a useful job
A skidded turn includes sideways movement relative to the board’s length. The board brushes and displaces snow, dissipating energy. That can be a useful part of regulating speed; it isn’t automatically a technical failure you should eliminate as soon as possible.
A carved turn follows a cleaner edge-led path with much less sideways slipping. Carving can carry speed efficiently, which is one reason it isn’t a beginner’s universal braking solution. Different tasks call for different combinations of direction, edge angle and snow resistance.
The AASI performance guide distinguishes skidded and carved outcomes while describing coordinated pressure, tilt, pivot and twist. Those concepts explain why a controlled skid differs from throwing the board sideways in panic.
An instructor can help you adjust how much sideways slip a task needs. Don’t treat louder snow spray as a reliable sign of better control. The useful outcome is a predictable route and manageable movement, not an impressive amount of displaced snow.
Finish one arc before rushing toward the next
Beginners sometimes begin the next turn early because pointing across the slope feels like a delay. The result can be a narrowing downhill pattern in which each turn starts slightly faster than the last. By the time the speed feels excessive, the rider is already trying to catch up.
Practice an appropriately completed arc in the corridor chosen by the instructor. Notice how the direction changes as the turn develops and whether the next transition begins from a manageable speed. The aim isn’t to stop after every arc unless that’s the exercise.
REI’s beginner turning progression links directional control with the development of turns. Use the short practice tasks to learn what an organized finish feels like before asking the skill to serve a longer descent.
If the first two turns are controlled and the next two become hurried, stop in a suitable place and review the sequence. The answer may be a route adjustment or simpler task, not a harder final skid.
Keep the body connected to the plan
When speed feels uncomfortable, leaning far toward the tail can seem protective. It may also make the board’s front harder to guide and leave the rear leg bracing. That can reduce useful choices at exactly the moment you want more of them.
Stiff legs and a large upper-body swing can create similar difficulties. They’re understandable responses to an overwhelming task, but forcing yourself to be relaxed rarely solves the cause. Reduce the demand and let the instructor identify the movement relationship that needs attention.
Keep appropriate mobility through the joints and attend to the space ahead. Your eyes should help you anticipate the next part of the route and other users. Watching only the nose provides little notice of a narrowing trail or a person changing direction downhill.
The PSIA-AASI Northwest snowboard guide connects skills with appropriate terrain and turn outcomes. A workable movement on suitable snow gives you more useful practice than trying to apply a pose while the environment demands too much.
Conditions change how much room you need
Firm or scraped snow can make grip less predictable. Soft, chopped or wet snow can add uneven resistance. Visibility can hide changes in surface and slope. Your chosen route and speed need to reflect what is happening now, not only what felt comfortable on the previous run.
Don’t assume extra edge angle will solve every surface problem. Snow can break away, and abrupt engagement can disturb balance. If you aren’t confident that you can regulate movement in the conditions, choose more suitable terrain or stop and seek help.
Crowds change the task too. The person ahead has priority, and their movements may not match your intended pattern. Leave enough space and reduce demands before your route becomes a negotiation conducted at close range.
There isn’t a universal numerical speed that makes every beginner situation safe. Control depends on stopping ability, available space, visibility, snow and other users. A phone’s speed reading can’t assess those relationships for you.
Plan a stop while you still have choices
Continuous control includes deciding when to pause. Choose a visible place that doesn’t obstruct traffic and get there using movements you can manage. Avoid stopping behind a rollover, in a narrow passage or in a lift exit.
A planned pause gives you a chance to check fatigue, equipment and the next section of trail. It can also reset a sequence that is becoming rushed. You don’t need to keep moving merely because the run hasn’t reached the bottom.
If the route ahead looks unsuitable, don’t follow companions into it to preserve the group’s schedule. Ask staff about an appropriate way to proceed. A snowboard day is easier to reorganize before everyone is committed to terrain they can’t control.
Keep the distinction between stopping and falling clear. A fall isn’t a speed-control method, and protective equipment doesn’t make it one. If you think you’ve been injured, stop and get appropriate assistance.
Practice one manageable variable at a time
An instructor may ask you to work within a suitable corridor, complete a pair of rounded turns or compare a small change in the finish. These exercises make the relationship between route and speed easier to notice.
Don’t change the slope, turn size and pace simultaneously while trying to diagnose a problem. A smaller comparison provides clearer information. Describe whether acceleration began during the transition, whether the turn stayed too direct or whether the edge response changed on a scraped patch.
As control becomes repeatable, the instructor can adjust the task. That doesn’t require pursuing more speed every session. The ability to make a deliberate choice at a modest pace is a skill worth improving in its own right.
Take a break when concentration or physical control declines. A fatigued rider may delay decisions and rely on larger rescue movements. Another lap is useful only if it remains an appropriate practice opportunity.
Judge the ride by the options it leaves you
A controlled run doesn’t have to feel hesitant. It can have rhythm and flow while leaving space to adapt. The essential question is whether you can change the plan deliberately, rather than whether the scenery feels thrillingly fast.
Ask the instructor for a specific next goal and suitable terrain. Then notice the moments that become less urgent: the turn finishes where intended, the next arc starts without a rush, and a pause happens because you chose it.
That’s speed control working before it needs to announce itself. The best final skid is often the one you no longer need, because the route and movements kept the whole sequence manageable.