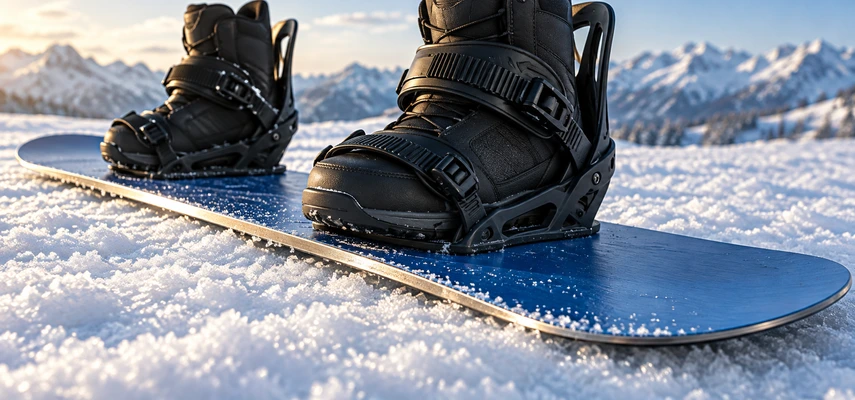

Your snowboard has two long metal edges, and both have ambitions to become the most interesting part of your day. Used well, they help you guide and slow the board. Engaged at the wrong moment, either can interrupt a conversation with the snow very abruptly.
Heel-side means the edge beneath your heels. Toe-side means the edge beneath your toes. Those names stay attached to your feet when you change direction, turn around or ride switch. They aren’t permanent labels for the uphill and downhill sides of the mountain.
Understanding that simple relationship clears up a surprising amount of beginner confusion. The next step is noticing how your body connects to each edge, why the two sides can feel different and how to explore them without assuming that one favorite edge is enough for the whole sport.
Find the edges while the equipment is still
In a controlled setting, ask an instructor to identify the edges relative to the boots. The toe-side runs along the side toward which the boot toes point; the heel-side runs behind the heels and binding highbacks. You can see that relationship before anything slides.
The metal edge runs around much of the board’s perimeter, but riders usually use heel-side and toe-side to describe the two long sides used in ordinary turning. The nose and tail don’t become extra steering pedals just because metal continues around their outlines.
Regular riders lead with the left foot; goofy riders lead with the right. Both still have a heel edge and a toe edge. Switching your leading direction doesn’t exchange your heels for your toes, so the names remain useful even when left and right become confusing.
If a coach’s wording is unclear, ask them to point to the actual edge. A short demonstration can settle the question faster than trying to mentally rotate your body, board and mountain map at once.
An edge is a contact relationship, not an on/off switch
The board can lie relatively flat or tilt through a range of angles. Tilting changes how one edge engages with the snow. Riders manage that angle along with pressure, direction and the board’s flex; simply choosing heel-side doesn’t specify the complete movement.
The AASI technical guide separates these interacting fundamentals. Its framework is useful because it avoids treating a turn as one isolated ankle command. The body, board and surface have to cooperate.
An edge can grip along a curved path, brush sideways through snow or fail to hold as expected. Firm, loose and wet snow respond differently. A larger angle may change the response, but it doesn’t guarantee more grip or a better outcome in every condition.
For beginners, that means edge awareness should grow through small, controlled tasks. You’re learning how a change feels and what it produces. You aren’t trying to find a maximum angle and hold it until the mountain agrees.
Why heel-side can feel familiar
In a common heel-side learning position with the board across the slope, you face generally downhill. That may feel reassuring because you can see the space below you. The body position can also resemble a partial sitting movement, which is easier to imagine than some toe-side cues.
But the resemblance to sitting has limits. Dropping the hips far behind the board or straightening the legs into a brace can make control harder. The goal is a manageable relationship to the heel edge, with movement available through the joints.
Your boots and bindings transmit movements and support the lower legs in particular ways. Pressing against a highback isn’t a substitute for organizing the whole body. If the equipment feels loose or painful, ask staff to check it rather than compensating through a larger lean.
An instructor may introduce a small heel-side sideslip and controlled halt. The board remains broadly across the slope while you explore release and resistance. That experience gives the term heel-side a physical meaning beyond simply knowing which side the heels occupy.
Why toe-side can feel unfamiliar
A common toe-side sideslip places you facing generally uphill. Your view changes, and the feeling of support comes through a different relationship between shins, boot tongues, knees and board. New learners sometimes interpret that unfamiliarity as evidence that toe-side is inherently unstable.
It isn’t. It asks for a different coordinated movement. Simply standing on tiptoes can tense the feet without creating the intended balance. Folding at the waist can move the torso while leaving the lower body unable to manage the edge effectively.
REI’s beginner progression introduces toe-side and heel-side tasks as parts of a larger learning sequence. Use qualified feedback to connect the explanation to what your body is actually doing. The cue that helps one rider isn’t necessarily the clearest cue for another.
Begin with a very manageable task selected by the instructor. Notice whether you can make a small adjustment and return, rather than committing to a dramatic position. Confidence develops more usefully from a predictable response than from surviving an attempt that felt beyond your control.
Uphill edge and downhill edge depend on the moment
When a board is held across a slope, one side is uphill and the other downhill. In a beginner sideslip, managing the uphill edge and keeping the inappropriate edge from catching is an important relationship. But the mountain doesn’t permanently assign heel-side to uphill.
Turn the board or change the direction of travel and the geometry changes. During a turn, useful engagement has to evolve with the route and the body’s movement. A slogan such as always use the uphill edge can’t describe every phase of normal snowboarding.
It’s more useful to ask how the board is moving over the snow and which edge is providing the intended support. That question remains meaningful during a sideslip, traverse or turn. It also helps explain why an edge that worked a moment ago can become the wrong choice after the movement changes.
Don’t try to solve that entire moving puzzle in your first stationary exercise. Learn the relationship in one simple task, then let the instructor build the next. Understanding a limitation in a slogan doesn’t mean you’re ready to experiment with it on a steeper trail.
Pressure, tilt and twist work together
Pressure across the board’s width influences the heel-side/toe-side relationship. Pressure along its length influences how the two ends interact with snow. These are related but different adjustments, and confusing them can make an instruction sound less useful than it is.
A board can also twist so the front and rear portions don’t have exactly the same tilt at every instant. The PSIA-AASI Eastern workbook describes tilt, pivot, twist and pressure as interdependent performance concepts. That flexibility is one reason the board isn’t just a rigid platform you must rock in one piece.
Twist doesn’t mean forcing the knees into an uncomfortable rotation. It describes a board outcome created through coordinated movements and equipment response. Your instructor can choose an exercise appropriate to your stage rather than asking you to manufacture maximum torsion.
The practical beginner lesson is modest: both feet contribute, and body position matters. If you try to manage an edge using only the toes or only a large shoulder movement, you may miss the useful cooperation happening between them.
Learn both sides without demanding identical sensations
It is common for one edge to feel easier initially. Visibility, familiarity, movement habits and instruction can all affect that preference. You don’t need to make the two sides feel exactly alike before acknowledging progress.
You do need a plan for developing control on both. Staying exclusively on one edge can limit your route choices and delay the movements needed for ordinary linked turns. Traversing or sideslipping on a favorite side isn’t the same as being ready to ride an entire trail independently.
Ask the instructor to choose a small task on the less familiar side and identify one thing to notice. Perhaps the board begins to slide predictably or you can reduce that slide without an abrupt body movement. Specific feedback is more useful than trying to become generally braver.
Take breaks when concentration or physical control declines. If a movement causes pain, stop and get appropriate help. A difficult edge exercise should be adjusted to the learner; discomfort isn’t proof that the correct technique is finally being applied.
Let terrain and traffic stay part of the exercise
Practice in an area chosen for the task, with a clear start and finish. Check uphill before moving and stop where others can see you. The NSAA Responsibility Code applies even when your whole attention seems occupied by a few inches of steel.
Snow conditions can change what the same movement produces. A scraped patch may feel different from the softer section you just used. Don’t interpret one successful attempt as a guarantee that the edge will behave identically everywhere else.
Before progressing, ask whether you can repeat the intended outcome on both sides in that setting. The answer helps decide the next exercise; it doesn’t automatically authorize more difficult terrain. Written explanations provide language, while on-snow instruction assesses the actual situation.
Eventually, heel-side and toe-side become less like rival techniques and more like two connected parts of riding. For now, remember where they are, notice how each responds and keep the practice small enough to understand. Familiar names become useful control only when they connect to movements you can repeat.