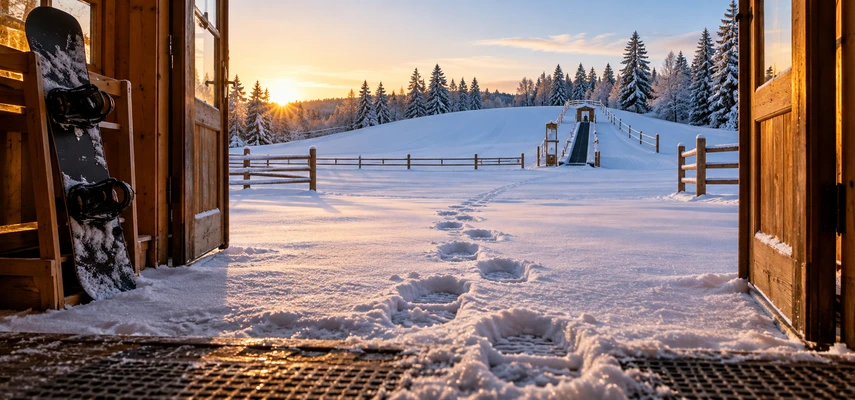

Your first snowboard day may begin with less sliding than you imagined. There are boots to fit, a pass to collect and a lesson group to locate. Then someone asks which foot you prefer in front, a question that probably hasn’t troubled you much while walking.
That’s normal. Snowboarding starts by making familiar tasks feel slightly unfamiliar: standing, moving a short distance and deciding where your feet should go. A first day gives those tasks new context. The impressive part may be a deliberate stop rather than a dramatic descent.
Knowing the likely sequence helps you recognize progress without expecting the day to follow a script. Schools use different teaching approaches and facilities, and weather can change the plan. Think of this as a tour of the experience, with room for your instructor to choose the actual route.
Arrival: the lesson starts before the meeting time
The published lesson time usually isn’t the time to drive into the parking lot. You may need to collect rental equipment, find the correct base area and get yourself into boots before meeting the instructor. Follow the school’s current arrival guidance rather than adding an optimistic five minutes to your travel estimate.
For example, Breckenridge’s lesson preparation page gives specific instructions for its guests and rental collection. Your destination may use different timings and locations. The transferable lesson is to read the actual instructions, not to assume every mountain operates like the one a friend visited.
Keep your reservation and the required access details available. Ask staff where to store ordinary shoes or a bag, where the lesson meets and which pass you need. Discovering that the rental shop and lesson point are different places is easier while you still have time.
The first surprise may be how much attention equipment handling requires. Take it slowly in crowded spaces and keep the board controlled. You’re sharing the area with people carrying long, hard objects, often while looking for their own meeting point.
The fitting counter is a place to speak up
Rental staff will use information about your size and experience to select equipment. Tell them you’re new and ask them to demonstrate the bindings. It helps to know how to release a boot before you need to do it with cold hands outside.
Boots should hold you securely without painful pressure. Walk and move as the fitter suggests, and describe heel movement or discomfort specifically. You don’t have enough experience yet to diagnose every fit issue, but you can report what you feel. That information is useful.
Your instructor or fitter may discuss regular and goofy stance: left foot or right foot leading. Don’t worry if you aren’t certain. A starting choice can be explored on appropriate terrain. It isn’t an oath, and uncertainty doesn’t disqualify you from the lesson.
Check that your helmet and goggles work together and that clothing lets you bend. Sort out a glove cuff or a twisted sock now. Small annoyances can become remarkably distracting once the board starts moving.
Meeting the instructor: describe the starting point honestly
A first-timer group is meant for people who haven’t learned the basic skills. Be clear about your experience rather than choosing a level because its name sounds more flattering. If you took a lesson years ago, describe what you can currently do and let the school place you.
Tell the instructor about relevant access needs, equipment problems or concerns. You don’t have to make a speech. A specific sentence—I’m worried about getting off the lift, or this boot presses painfully here—provides something they can address.
Expect a conversation about the plan and the learning area. Professional instruction includes choosing tasks and terrain, not only demonstrating turns. PSIA-AASI’s beginner resources provide background, but the person with you can adapt to what is happening on the snow that day.
If you don’t understand a term, ask. The instructor may use words like edge, traverse or fall line so naturally that they forget to unpack one. Clarifying the language is part of learning, not an interruption to it.
Early practice can feel almost comically small
You might begin on level or very gently sloping snow, learning how to stand, attach equipment and move with one foot released. These exercises let you discover how slippery the platform is without asking you to solve speed and steering at the same time.
One-foot pushing is often called skating. You may also practice a short glide with the free foot placed on the board. Both are useful around lifts and flat areas. A task that covers only a few feet can have an important job in the day’s progression.
Then come exercises that develop awareness of the board’s edges and controlled movement. A heel-side edge is beneath your heels; a toe-side edge beneath your toes. Tilting changes how the board meets snow. Feeling that difference is a more useful early achievement than memorizing a large collection of technique cues.
Your first attempts may be untidy. You may need help getting up, find one movement easier than another or discover that concentrating makes you hold your breath. Tell the instructor what you notice. They can reduce the task or try a different explanation.
Sliding, stopping and the first changes of direction
As the lesson develops, the instructor may introduce controlled slides, traverses, stops and early turns. The sequence depends on the student and venue. REI’s riding progression shows how these skills connect without promising that every learner will reach the same point in a single session.
Stopping deliberately matters because it changes your relationship with the slope. Instead of hoping the runout or a fall will end the movement, you begin learning to choose the outcome. That sense of agency is often more satisfying than the distance traveled.
Some learners link turns during an early lesson; others need longer with the preceding skills. Snow, fatigue, previous experience and confidence all affect the process. Another person’s progress isn’t a deadline assigned to you.
Falls can occur during learning, but they aren’t a scorecard or something to chase. Ask your instructor about appropriate ways to manage them and to get up. If you think you’ve been injured, stop and seek help rather than assuming all discomfort is an ordinary part of the experience.
The first lift may be a different kind of lesson
Some beginner areas use a conveyor, others use surface lifts or chairlifts. The setup changes the skills you need. Your instructor should explain the relevant procedure and assess when it’s appropriate to use that lift.
On an ordinary chairlift, snowboarders generally travel with the lead foot attached and the rear foot free. Loading, riding and unloading require coordination. Tell the attendant you’re new and ask for help when needed. Don’t treat a queue moving quickly as a reason to skip an explanation.
The NSAA Responsibility Code explicitly includes understanding lift use and seeking assistance. It also requires control on the slope. Reaching the top doesn’t give you an exemption from needing a suitable way down.
If you aren’t confident about the next step, say so before boarding. Changing the practice plan at the bottom is usually simpler than discovering at the top that the terrain doesn’t match your skills.
Breaks are part of a productive day
Snowboarding combines physical effort with sustained attention. Even a gentle learning area can feel demanding when every movement is new. A short break can help you notice whether you need food, water, a layer adjustment or simply a pause from concentrating.
Expect clothing needs to change as you move and wait. If you become wet or cold, address it. If goggles fog or boots become painful, ask for help. Persevering with a fixable equipment problem doesn’t make the practice more effective.
You may feel muscles working in unfamiliar ways, but don’t use that expectation to dismiss concerning pain or symptoms. Tell the instructor and seek appropriate assistance. A first day is an introduction, not an endurance challenge with a prize for ignoring your body.
Friends can be useful company during breaks even if their riding day looks different. Agree on a meeting place and let your lesson terrain remain your lesson terrain. Keeping up socially doesn’t require following them onto a trail you can’t control.
The final conversation is worth remembering
Before the lesson ends, ask what you can safely practice independently, where to practice and what skill should come next. Be specific about terrain. An easy run in casual conversation may mean something different from the dedicated learning slope your instructor has in mind.
Repeat the advice back if necessary. Then make a short note while it is fresh. Remembering one clear practice task is more useful than leaving with ten vague instructions and an ambitious plan to try them all at once.
Return equipment according to the rental arrangements and report any problem you noticed. Take stock of what changed: perhaps moving with one foot attached feels less strange, or you can stop on purpose, or the toe edge finally has a meaning beyond a word.
That’s a real first day. It may contain waiting, awkward moments and more modest terrain than the videos suggest. It can still leave you with something compelling: a movement that was unfamiliar in the morning beginning to make sense by the time you take the boots off.